Over the last few weeks, I’ve been in multiple Windows Autopatch discussions, and none of them got stuck on technology.
They got stuck before that.
The conversations always follow the same pattern. We start with Autopatch. We never finish the decision.
The blocker isn’t technology. It’s ownership.
Across different organisations (public sector, enterprise, different maturity level) the pattern is the same. The questions are not about configuration. They are about ownership.
- What if something breaks?
- Who is in control?
- Who owns updates?
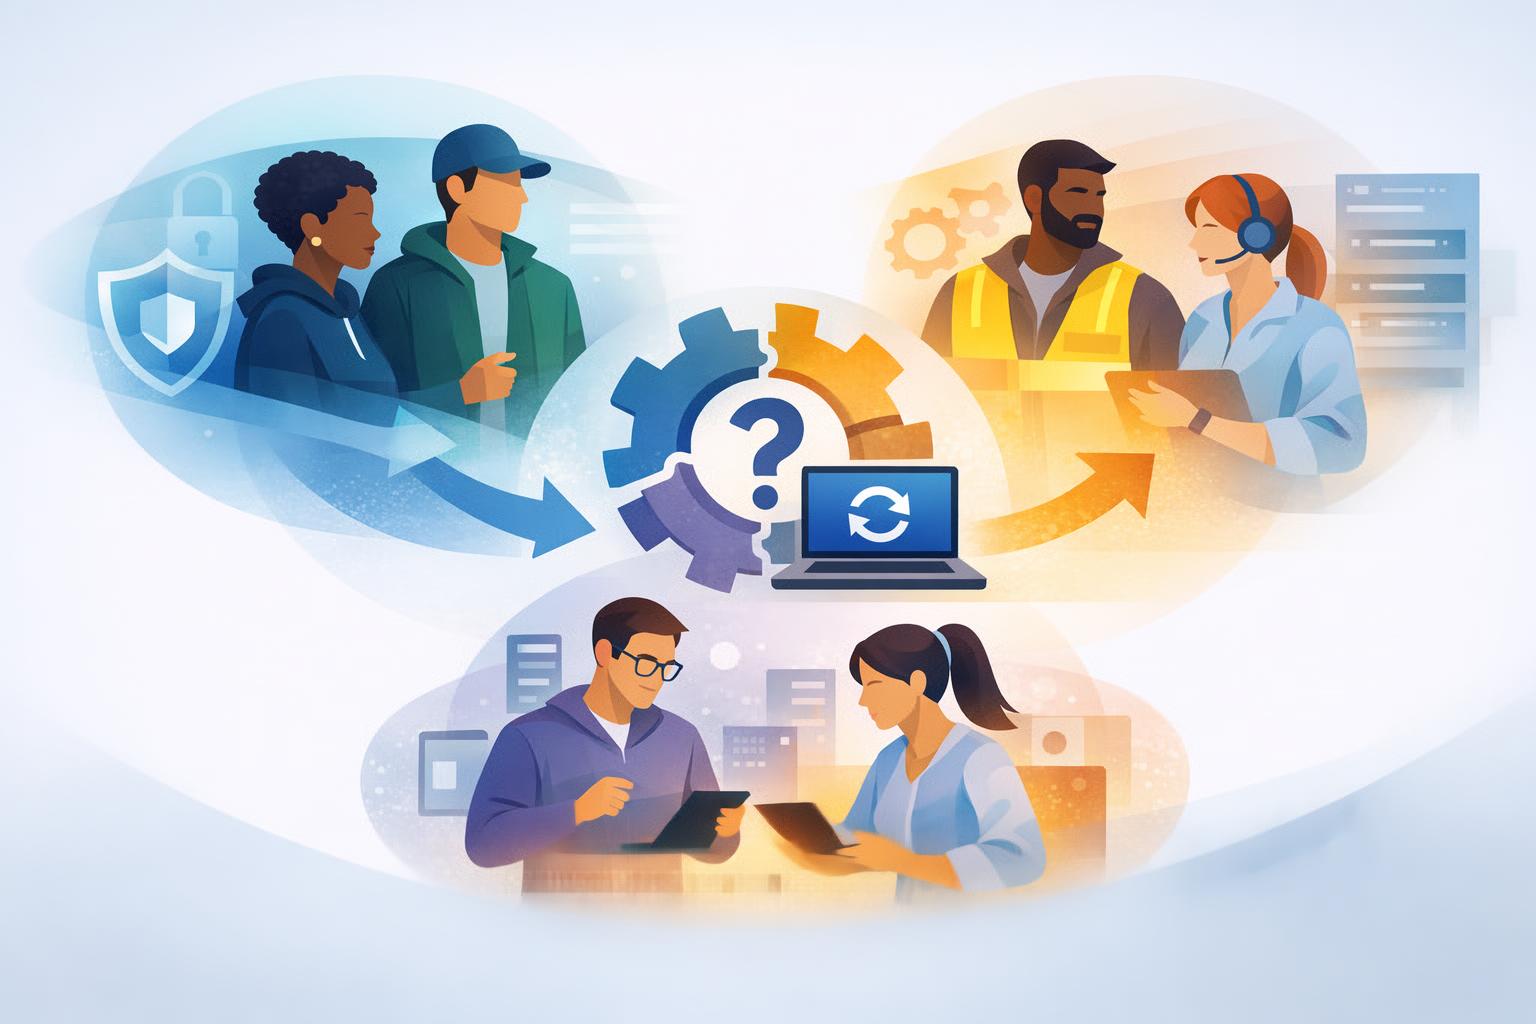
These concerns are typically raised by:
- Endpoint teams
- Operations teams
- Security stakeholders (focused on accountability and risk)
Not a technical feature
Many organisations approach Autopatch as a technical feature, comparing it to update rings, policies, and configuration. That’s the wrong frame. Autopatch is not a tooling change. It’s an operating model change.
- Who makes decisions?
- How risk is handled?
- Where control sits?
Autopatch shifts responsibility. From controlling updates to defining guardrails and delegating execution.
| Traditional model | Autopatch model |
|---|---|
| Approve updates | Define guardrails |
| Own everything | Shared ownership |
| Optimise locally | Standardise globally |
| Reactive patching | Service-driven lifecycle |
This is why the discussion shifts from configuration to operating model.
This isn’t new. The idea was introduced with Windows as a Service back in Windows 10. Autopatch is simply the next step, and making that model real.
Why do we get stuck?
Across multiple customer engagements, a few consistent friction points show up.
The friction is not in the service, it’s between teams and responsibilities.
1. Ownership is unclear
There is an uncertainty around who approves the updates and approves when we update. There is also a question about who is responsible if something breaks, especially if we throw Microsoft 365 Apps and Edge into configuration.
This creates hesitation, not technical blockers.
2. Loss of perceived control
If you come from a more “traditional” setup, where you approve updates going out, this will be very different. Even if you are using Windows Update rings, this will be different. There is always a fear of automation replacing judgement, and we all now how hard it’s to get away from the “we have always done it this way” discussion.
Even when control exists, it doesn’t feel visible. That’s where resistance comes from.
3. Organisational misalignment
I don’t know if we should call it a misalignment or managing expectations. But given how the IT world and security threats have evolved the last couple of years, there is a higher demand from the security teams towards the endpoint teams to keep things updated. And these are two teams with very different purposes and focus.
There is also the architectural vs operations perspective. What the IT architects think “should work”, might historically not always been the case causing additional work and unnecessary incidents.
These perspectives don’t align naturally in a service-driven model.
How do we unlock progress?
To move forward, the conversation needs to shift. From configuration to operating model. Instead of asking “How do we configure this?” we should be asking:
- Who owns update strategy going forward?
- What level of control do we need, vs just want?
- What risk are we trying to optimise for?
- What does our operating model look like in 12–24 months?
The IT landscape isn’t just changing in technology. It’s changing in how we operate. Autopatch is part of that shift.
Autopatch implementation is easy. Agreeing on how to operate is not.
What should you go do?
In the conversations where Autopatch moved forward, the shift wasn’t technical. The conversation moved forward when discussion changed from configuration operating model. We need to be intentional about how we operate, not just what we configure.
If you are looking to start your Autopatch journey, focus on these four things:
- Start with ownership, not tooling
- Align security + endpoint + operations early
- Define what “good” looks like long-term
- Treat Autopatch as a service, not a feature
Closing thoughts
Autopatch doesn’t introduce a technical challenge.
It exposes an organisational one.
That’s why these discussions stall. And that’s why the starting point shouldn’t be tooling, it should be ownership.