So, 2022 was the year Microsoft Ignite was FINALLY a physical event again, and for the first time on Microsoft home turf in Seattle.
Being an ex-Microsoft FTE, this gave me major flashbacks to TechReady, which was an internal training event Microsoft used to host in Seattle. Same location as Ignite, just no hilarious videos with Norm Judah encouraging everyone to fill out the evaluations.
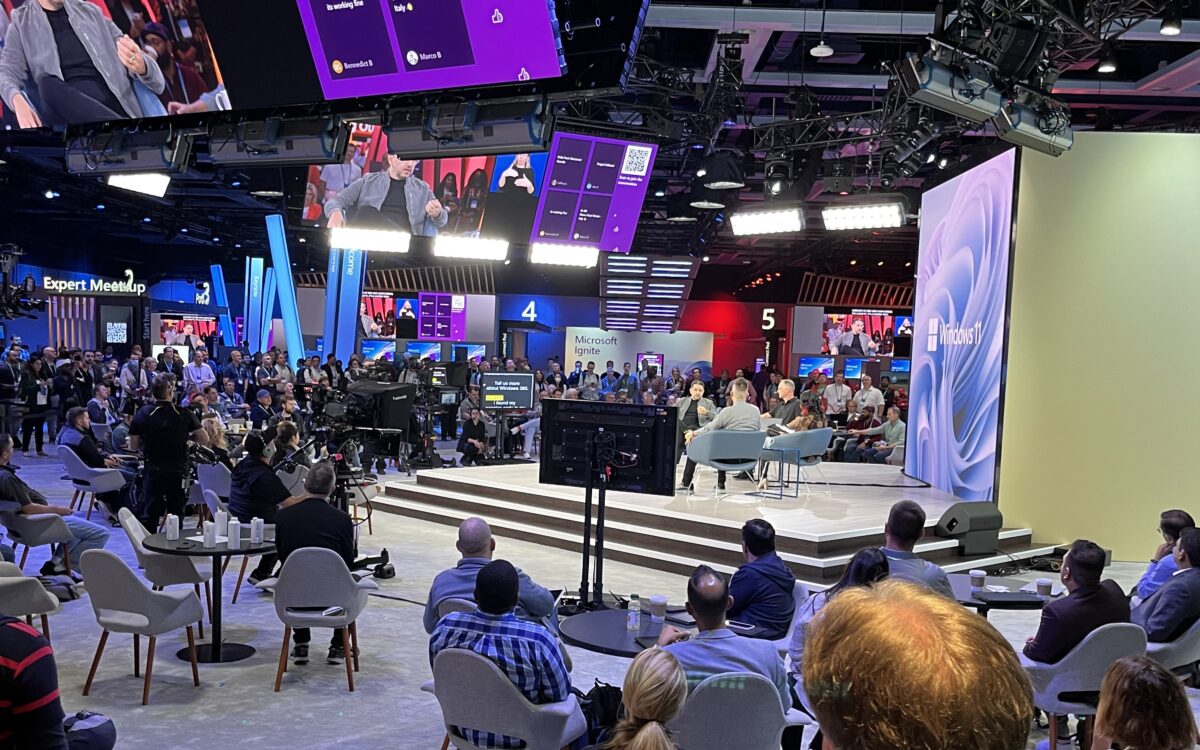
Ignite was different this year since it’s a hybrid event, and the first big such for Microsoft which means that they are still trying out the concept.
Overall, I had a lot of fun. For me, meeting up with peers and having the time to focus on the content is important, if sessions are digital or physical doesn’t really matter. Some sessions made more sense virtually. But in-person sessions are usually the best, and you could really tell that people wanted this. Especially the big keynotes are always more fun in-person.
But I was missing the expo where you can meet vendors or just mingle with Microsoft people, there wasn’t really any space for this, except for an awesome Surface expo.
However, the width that the “old” Ignite had was missing and the break-down sessions were missing. The feeling was that this hybrid thing was more focused on people attending remote, and people on site were more the live audience.
There was a lot of news and I’ve picked out the ones I found most interesting.
Windows
Just before Ignite kicked off, there was a Surface event where some news around Windows 11 was released. Check it out here:
If you want to read more about all the Windows 365 news, check this out: What’s new in Windows 365: Microsoft Ignite 2022 edition – Microsoft Community Hub
Microsoft 365 and Windows 365 in the Metaverse
This was released a few days prior to Microsoft Ignite, but Microsoft 365 and Windows 365 will be supported on Meta Quest devices, providing a new kind of experience for productivity in the Metaverse.
This means that you will be able to run a fully supported productivity setup in the Metaverse with e.g., Microsoft Teams and Windows 365. Windows 365 is not yet released for Metaverse, but this indicates strongly which direction VR is heading now.
On top of Microsoft 365 apps being supported, you will also be able to manage the Meta Quest and Meta Quest 2 using Azure Active Directory and Microsoft Intune, which would provide IT admins with a whole new option of what a PC or workstation is for their end-users. You can read more on this blogpost by Microsoft: Microsoft and Meta partner to deliver immersive experiences for the future of work and play – The Official Microsoft Blog
The new Windows 365 app (preview)
The Remote Desktop app has for long been the go-to application for your VDIs, but now for Windows 365 you can use the brand-new Windows 365 app which is now in public preview. This app aligns more with the Windows 365 features found on the web portal but with the advantages of the desktop app! Read more here:
Experience the Windows 365 app: public preview available now – Microsoft Community Hub
Organizational messages
Getting messages out to end-users is always a struggle within IT. There is a new feature for Windows 11 where you can send organizational messages, natively in Windows, to your users instead of sending them email using Microsoft Intune coming in November to Windows 11 22h2. Read more here:
Deliver organizational messages with Windows 11 and Microsoft Intune – Microsoft Community Hub
Microsoft Intune
No more MEM…
The brand Microsoft Endpoint Manager or MEM is going away. The new product-family name will be Microsoft Intune where a bunch of things will be included, Configuration Manager amongst others. You can read more about the anoncment here:
Introducing the Microsoft Intune product family – Microsoft Community Hub
Add-ons for Microsoft Intune
Add-ons for Microsoft Intune is obviously here to stay, and it’s also growing bigger than just Remote Help which has been an add-on for a while now.
Out of the list of new add-ons coming, what caught my eye especially was these two which I think will solve a lot of headaches for a lot of IT admins.
You can read more here about all new add-ons:
Reduce your overall TCO with a new Microsoft Intune plan – Microsoft Community Hub
Endpoint privilege management in preview
Enabling local admin for users on a temporary basis has been a struggle with Intune managed devices. Old solutions relying on attributes in the on-premises AD do not work and there aren’t really any “best practices” established around this yet.
However, Microsoft is looking to solve this with the Endpoint Privilege Management which is in public preview. Read more in the link above.
Automated app patching as add-on
Keeping applications up to date is something that many stuggles with, and there are products around to solve that. Now Microsoft are throwing themselves into this game as well, which makes a lot of sense. This is just briefly mentioned in the “Further value and looking forward” part of the article, but if they are able to deliver on a native Microsoft Intune feature for this, that would simplify things a lot!


