Let’s get technical again, it’s been a while.
Android has some rather good benefits for task-workers/front-line workers, especially if the device is shared. Not only is the price-point of the device better, the user experience is quite simple.
There are today two ways of doing this, either dedicated device or the newly released dedicated device with Azure AD Shared Device which is still in preview. In this post I will try to cover both, but the device will not be set into kiosk mode.
How to configure
Decision points
Before you start, there are a few things you need to decide upon:
- What applications do I need?
- What is allowed on the device?
- Is it multi app device or not?
- How will the device be enrolled?
Using dedicated devices, you can either just enroll the device as a “normal” device but without the user affinity, or you can deploy a single-app or multi-app kiosk where you define what applications can be used. This post will describe how to do the “normal device” setup without user affinity.
The Intune parts…
Enable enrollment
First step is to enable the possibility enable dedicated device enrollment. I’m assuming that you have already setup the Managed Google Play, otherwise you need to do that first by following the wizard.
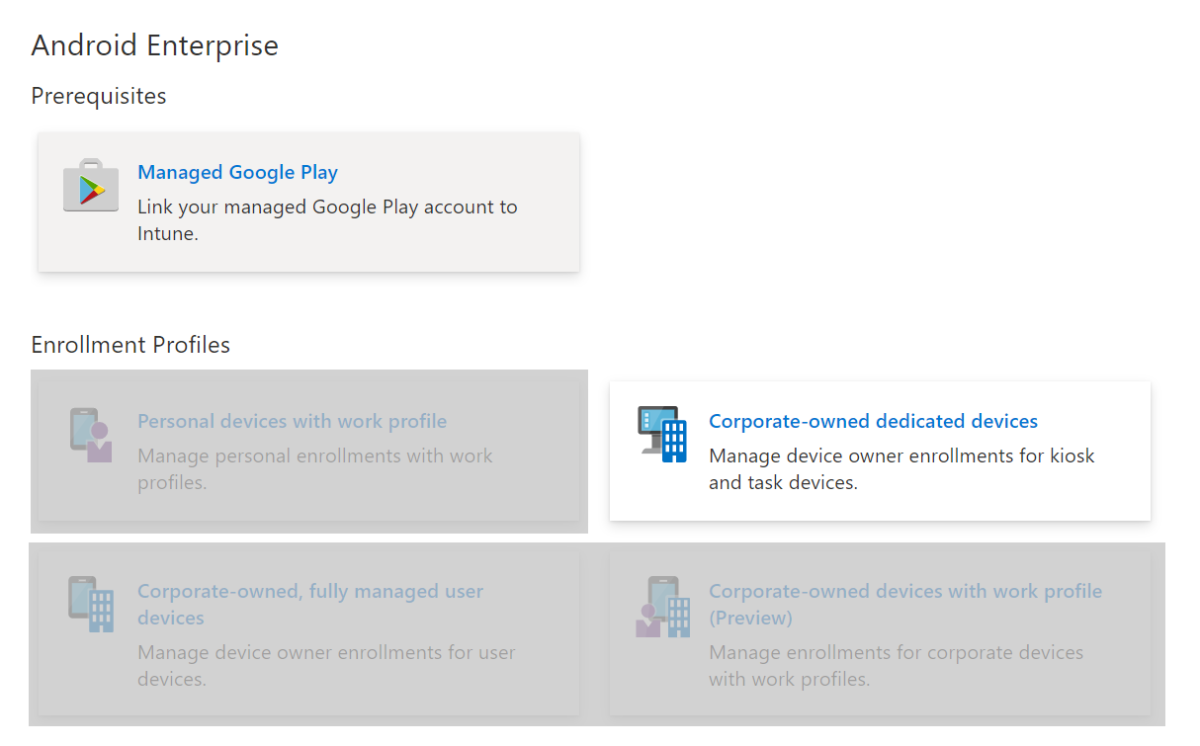
In the Microsoft Endpoint Manager admin centre (https://endpoint.microsoft.com), navigate to Devices > Enroll devices > Android and select the “Corporate-owned dedicated devices”

Click on “Create profile” to create a new profile.
Give your profile a name and select what token type you want to use. Today, there are two to choose from. The default profile for dedicated devices and the preview profile for Azure AD Shared Devices (which you can read all about here). In this example we will use the preview feature, but you can today just as well use the default if you are not keen on using preview features.
Enrollment tokens for dedicated devices can only be valid for 90 days, so make a note of the expiration date and create a reminder to renew it. If you miss to do so, you won’t be able to enroll new devices.

When you are done, hit next two times and then create. Your enrollment token for dedicated devices is now created!
To view the token, click on it in the list and go to “Token” in the left menu. When you press “Show more” the token will be displayed.

This will later be used when a device is enrolled.
Creating a device group
Now we need a device group to be able to target our settings and applications.
In the MEM admin centre, go to Groups and select “New group”. Leave the group type to “Security” and give the group a name. Select “Dynamic Device” as membership type.

Now it’s time to create our very simple membership rule. Set property to “enrollmentProfileName”, operator to “Equals” and the value to the name of the enrollment token we created in the previous step.

Or you can just use this string and replace the [ENROLLMENT TOKEN NAME] with the name of your token.
(device.enrollmentProfileName -eq "[ENROLLMENT TOKEN NAME]")
You can of course build more complex rules if you like, but for the basic setup this is the only thing we need.
Setting device restrictions
For shared devices, there are a few settings that might be good to create. In opposite of how I usually create configuration profiles for personal devices, I tend to have one profile containing most settings for share devices, defining that it’s a shared device and doing some minor restrictions.
When creating a new profile, go to Devices > Android > Configuration Profiles and click “Create profile”. Select Android Enterprise as Platform and make sure use the profile type under “Fully managed, Dedicated, and Corporate-Owned Work Profile” when creating configuration profiles.

In this example I will only create a simple restriction profile with a few settings.

Since its a shared device which we don’t really know how it will be used, how updates are applied might be something you need to take in mind. It’s possible to set it to a maintenance windows to adopt to your business.
This profile will also set a PIN-code which will not be set during the enrollment due to that the general idea with a dedicate device is that it’s a kiosk and does not require a PIN. That is not however what the reality looks like every time.
If you are creating SCEP profiles, make sure that you create SCEP certificates which are device based and not user based since your device will not have a logged-on user so to speak.
Assign the profiles you have created to the device group we created earlier.
Applications
When it comes to applications, this is where it will vary a lot depending on your needs.
The important part here is to remember to assign the applications with a device centric approach and not a user centric. Use the group we created earlier or any other device group you have which contains the devices.
For shared or dedicated devices, you might also want to remove a few applications, not only distribute.
The easiest way of doing this for Google Play store applications is to simply add it from you Managed Google Play store and assign your dedicated device group to uninstall the application.

Some vendors, for example Samsung, pre-load their devices with some system applications which for Samsung also includes a separate app store. However, these are usually removed when putting a device into fully managed or dedicated mode, but if you are using e.g. Samsung Knox you will need to look into turning of these applications.
Enroll the device
Now it’s time to enroll the device!
Start up your device and tap the first screen repeatedly to launch the QR scanner.

Select a Wi-Fi network to connect to if you don’t have a cellular connection on the device. Hit next and the device will start to prepare to enroll. Follow the on-screen wizard to get started with the enrollment.
If you are using for example Samung Knox, the experiance will be more streamlined and you won’t be asked some of the choices.
During the enrollment process you will be asked to approve the installation of required applications as a part of the registration process.


Once the device is enrolled, you will be presented with the home screen of the device.

Some settings and applications might take a few minutes before they apply, so the device might not be ready to send off to the users just yet. To speed this up, you can access the Intune app on the device and press sync. Make sure that all applications and configuration profiles has been applied to the device before shipping it out!
One thing that is important to keep in mind for this is the licensing. You will most likely require a device license for Intune for these devices since they do not have a user.
Build further on this
Now that you have a dedicated device, you can built on this further using depending on your scenario.
You could for example set up kiosk device, either single- or multi-app using the Managed Home Screen. Using the Managed Home Screen also opens up the possibility to utilize the shared sign in screen mentioned in this post from the Intune team. But I will cover that in a future post instead!
You can also create different enrollment token based on different purposes, you just repeat this guide and create the ones you need for your organization, make sure to give the tokens and groups unique names which makes sense to you.
Leave a Reply